Zabbix - Install Guide
Table of Contents
Introduction
Today’s post kicks off a small series of guides about Zabbix and monitoring the health of servers, routers, VMs, and other devices. With this guide, you’ll be able to monitor the parameters of any device with just a few simple steps. I’ll try to explain everything as clearly as possible so that anyone can install and configure it in their homelab.
In this first post, I’ll walk you through installing Zabbix as an LXC container on Proxmox.
Before we begin, let’s go over some basic information about Zabbix.
What is Zabbix?
Zabbix is an open-source monitoring tool that helps you keep an eye on servers, networks, applications, and basically your entire IT infrastructure.
What does Zabbix do?
Monitors CPU, RAM, disk usage, network traffic, and more. Tracks the health of servers, routers, VMs, cloud services, databases, and IoT devices. Sends alerts & notifications (email, Slack, Telegram, etc.) when something goes wrong. Provides cool dashboards, graphs, and reports to visualize your data. Works with SNMP, IPMI, JMX, and custom scripts to collect data from different sources.
Why use Zabbix?
Free & open-source - no licensing fees!
Scalable - works for both small home labs and massive enterprise setups.
Highly customizable - you can monitor almost anything.
Integrates well with tools like Ansible, Grafana, and Prometheus.
If you want full control and real-time insights into your infrastructure, Zabbix is a solid choice!
Starting the installation
I assume you already have Proxmox installed, so let’s get started!
Zabbix can be installed on Proxmox as a virtual machine, an LXC container, or using Docker.
I’ve chosen to install it as an LXC container using a simple script from -> https://helper-scripts.com/
You can find the script to run the installation here -> https://community-scripts.github.io/ProxmoxVE/scripts?id=zabbix
Using this script you will install Zabbix version 7.2.3
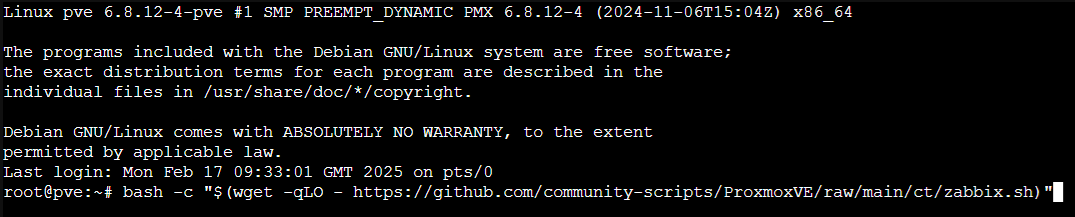
Now, just copy and paste this command into the Proxmox console:
bash -c “$(wget -qLO - https://github.com/community-scripts/ProxmoxVE/raw/main/ct/zabbix.sh)"
Then press ENTER.
Installation Steps
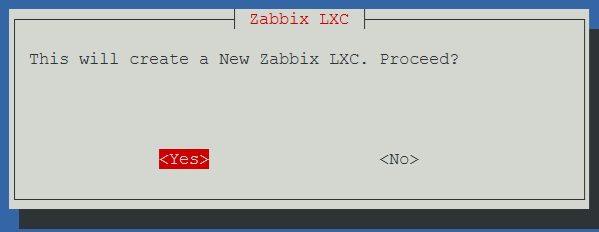
The first prompt will ask if you want to create a new LXC container for Zabbix.
Choose Yes
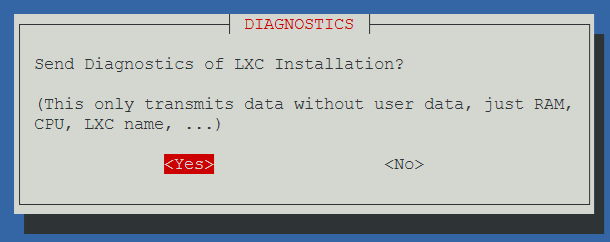
The second prompt asks about sending diagnostic information from the LXC installation.
I personally choose Yes (no user data is sent, so it’s safe).
The next step is selecting the installation mode.
I go with Advanced settings since it allows tweaking some options.
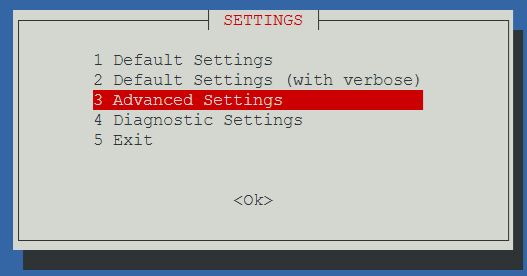
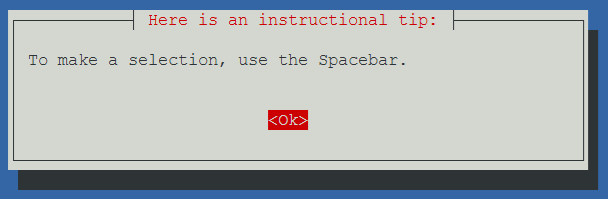
You’ll see a message explaining that to select an option, press SPACE.
Confirm with ENTER.
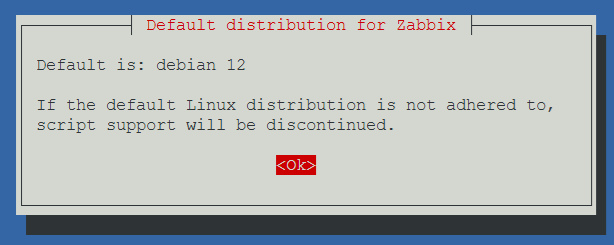
The default OS for the Zabbix LXC container is Debian 12.
Press ENTER to proceed.
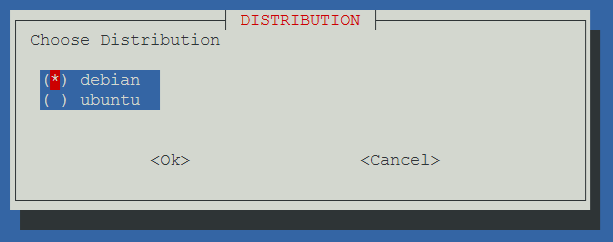
Now, you must choose the OS: Debian or Ubuntu.
Debian is selected by default, so just press ENTER.
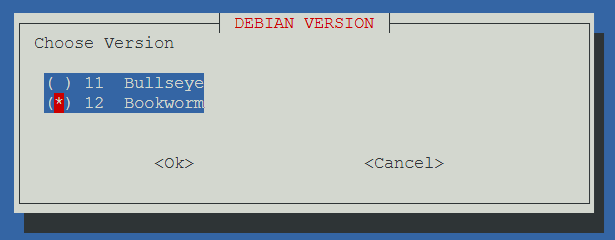
Choose the version.
Debian 12 is already selected, so press ENTER.
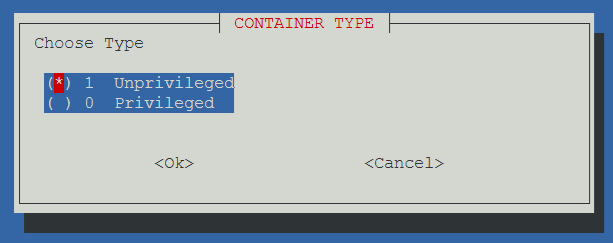
Select the container type.
The default Unprivileged setting is fine. Press ENTER.
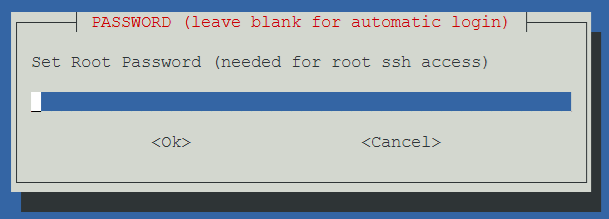
Set the root password for the LXC container.
Type the password, then press ENTER.
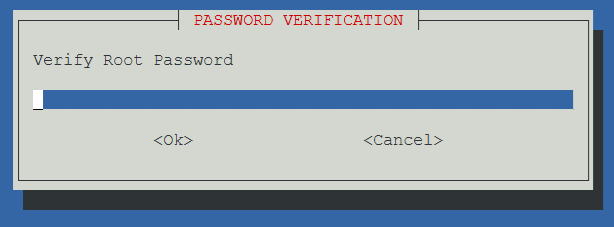
Re-enter the password for verification and press ENTER.
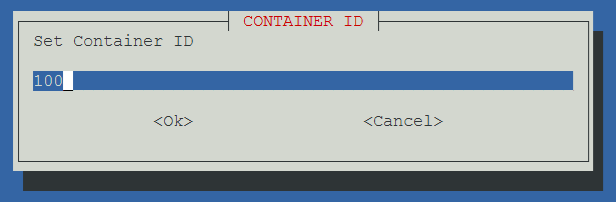
Choose an ID for the container.
The default is 100, which is fine. Press ENTER.
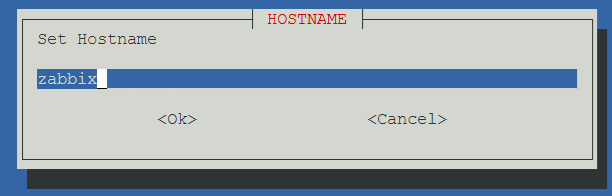
Set a hostname.
The default is zabbix, so press ENTER.
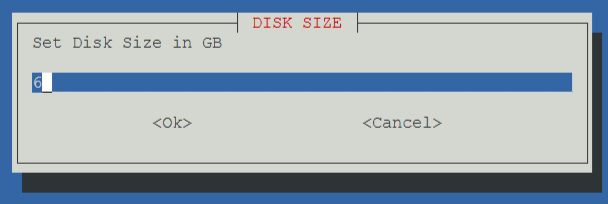
Set the disk size.
The default is 6GB, which you can change later via the Proxmox Web UI.
Press ENTER.
In my case, the installer won’t ask which disk to install the Zabbix container on because, in my test environment, only the “LOCAL-LVM” disk has CT volumes enabled.
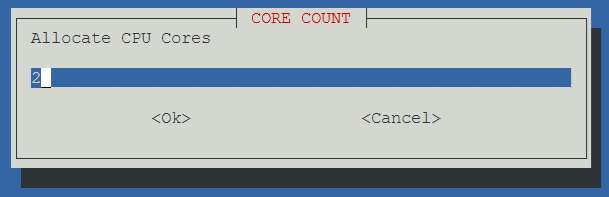
Assign CPU cores.
The default is 2 cores, which should be enough.
Press ENTER.
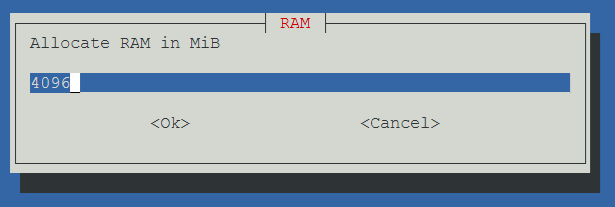
Assign RAM.
The default is 4096MB, which should be sufficient.
Press ENTER.
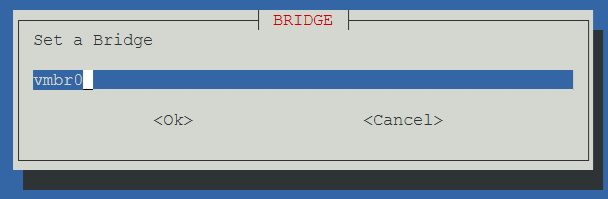
Assign a network bridge.
The default is vmbr0, which is fine unless you’re using a different bridge like vmbr1.
Press ENTER.
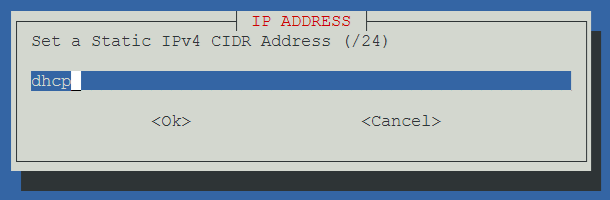
Set an IP address.
It’s recommended to use a static IP, but you can also use DHCP and set it statically on your router.
Press ENTER.
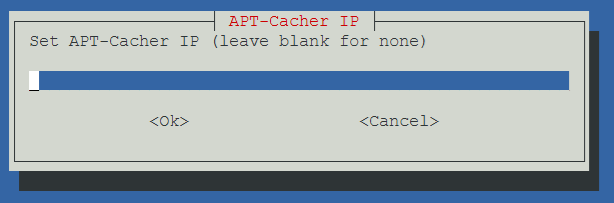
Skip the APT-Cacher IP field by leaving it blank.
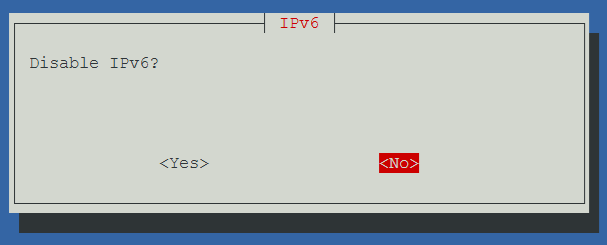
Decide whether to use IPv6.
If you’re using IPv6, select YES; otherwise, select NO.
Press ENTER.
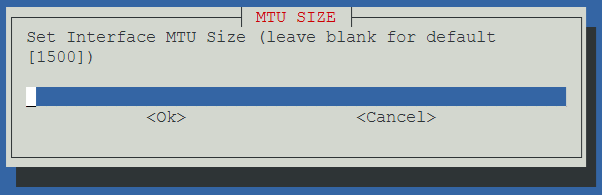
Leave the MTU at 1500 (default) and press ENTER.
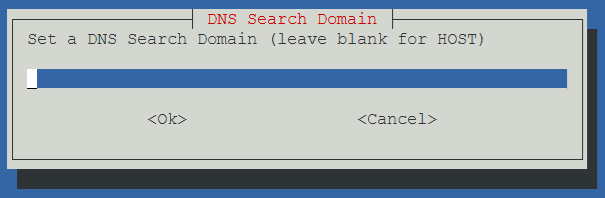
Skip the DNS search domain field by leaving it blank.
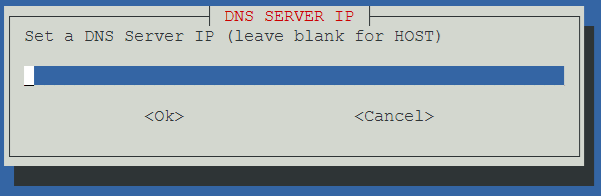
Skip the DNS server IP field by leaving it blank.
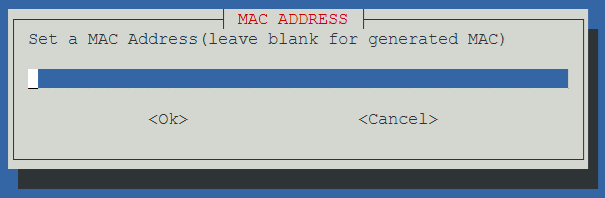
The installer asks if you want to auto-generate a MAC address.
Yes, leave it as is and press ENTER.
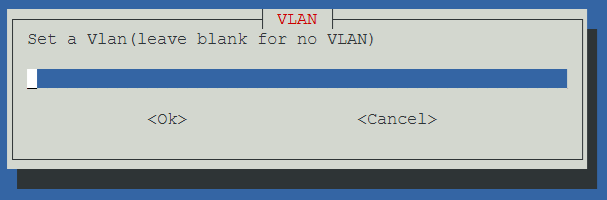
If you’re using VLANs and want to place the Zabbix container in a specific VLAN, configure it now.
Otherwise, press ENTER.
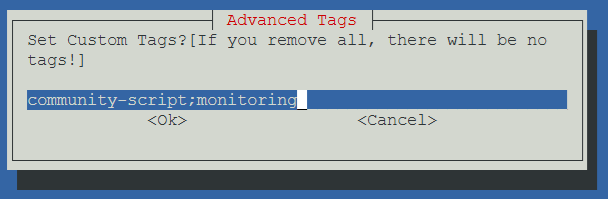
You can add tags to the container if needed.
If the defaults are fine, press ENTER.
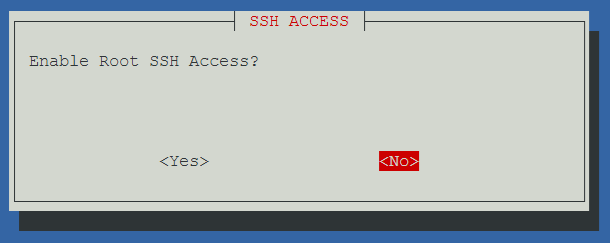
Enable or disable SSH for the root account.
Default is NO, but I personally enable SSH.
Choose based on your preference and press ENTER.
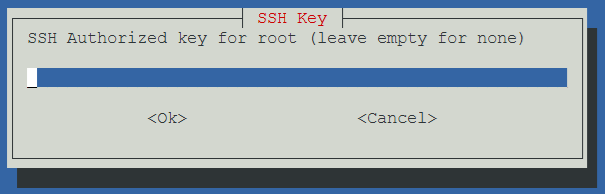
Skip SSH Key configuration (I use passwords only).
Press ENTER.
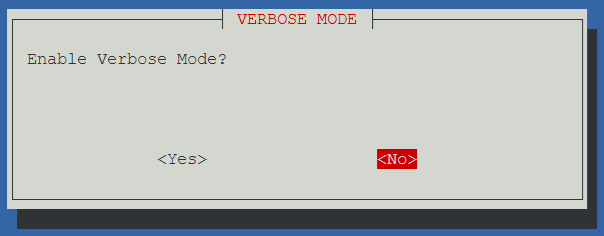
Choose NO for Enable verbose mode.
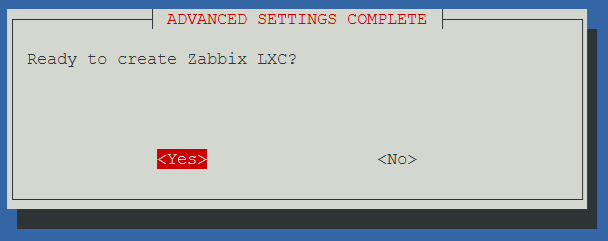
And final step!
Confirm that you want to create the LXC container with Zabbix.
Choose YES.
Wait about 2-3 minutes for the installation to complete (depending on your hardware).
After installation, you’ll see a message with the Web UI address for Zabbix.
Copy and paste that into your browser.

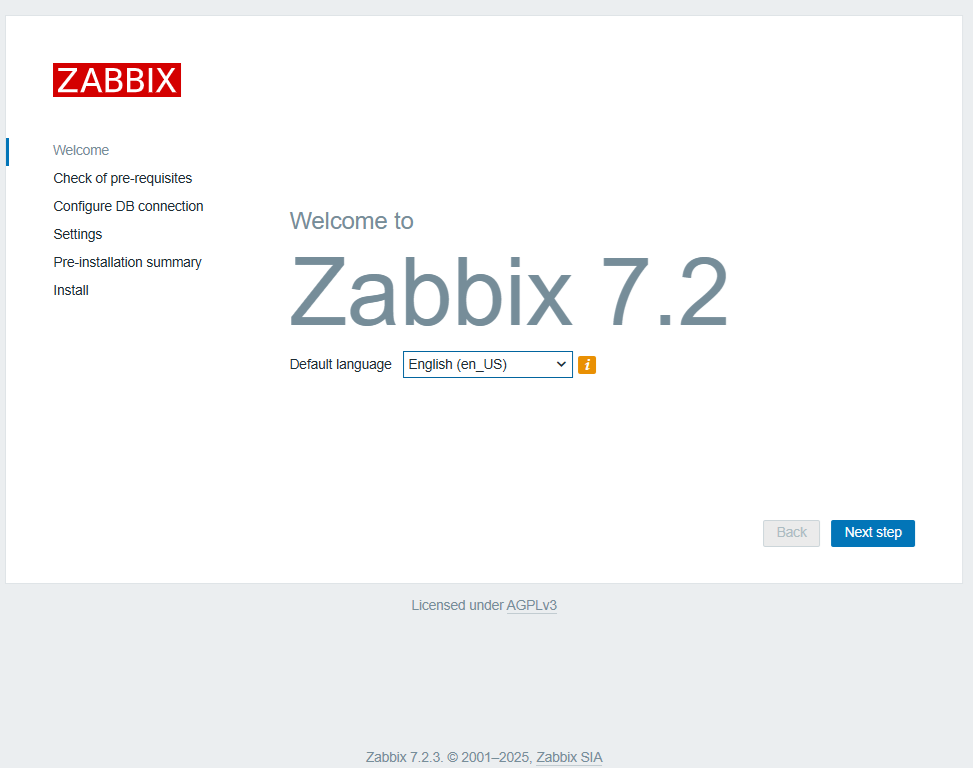
Follow these steps in the web installer:
Click NEXT STEP on the welcome screen.
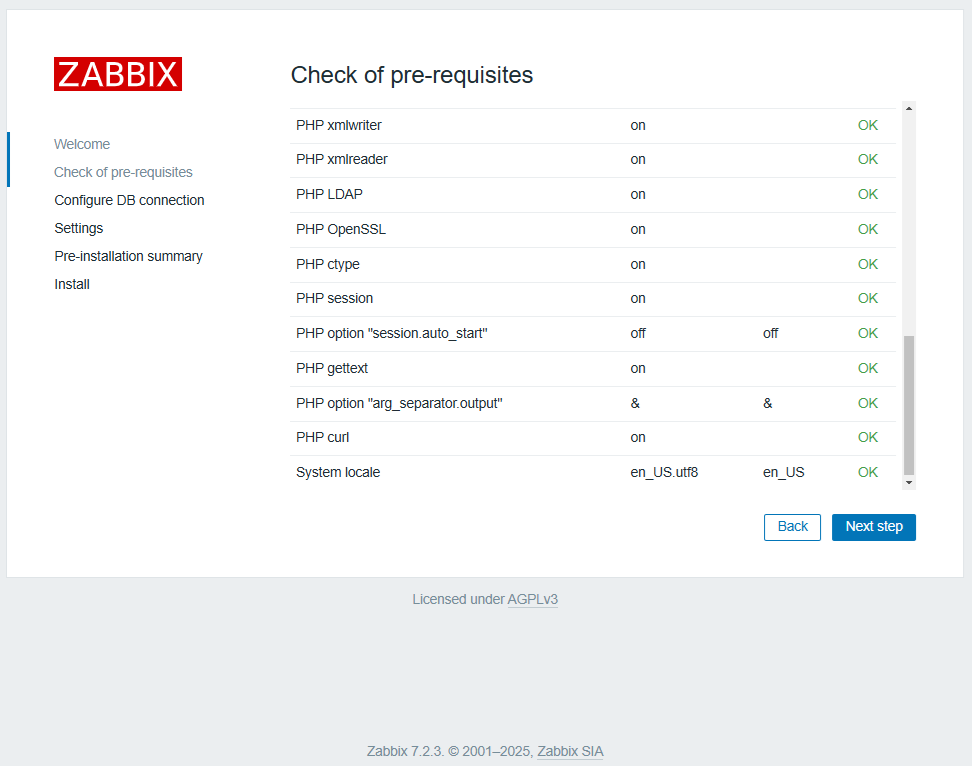
If all pre-requisites are marked OK, click NEXT STEP again.
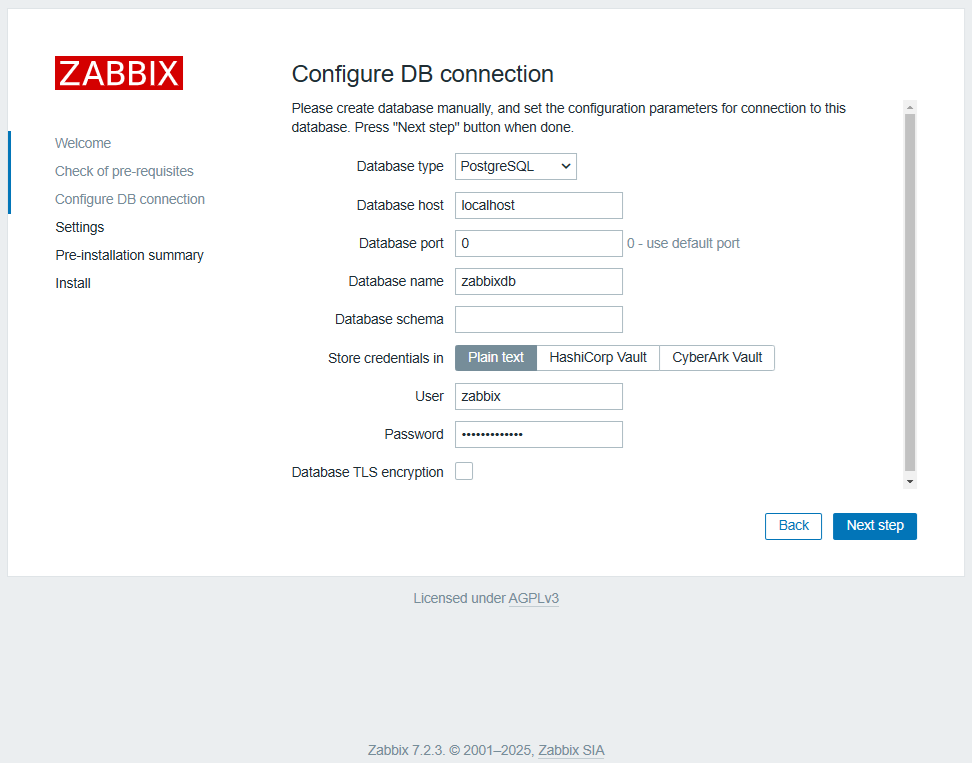
Configure the database: The login and password are in the zabbix.creds file inside the LXC container. Retrieve them using:
cat zabbix-creds
Copy the credentials into the database configuration screen and click NEXT STEP.
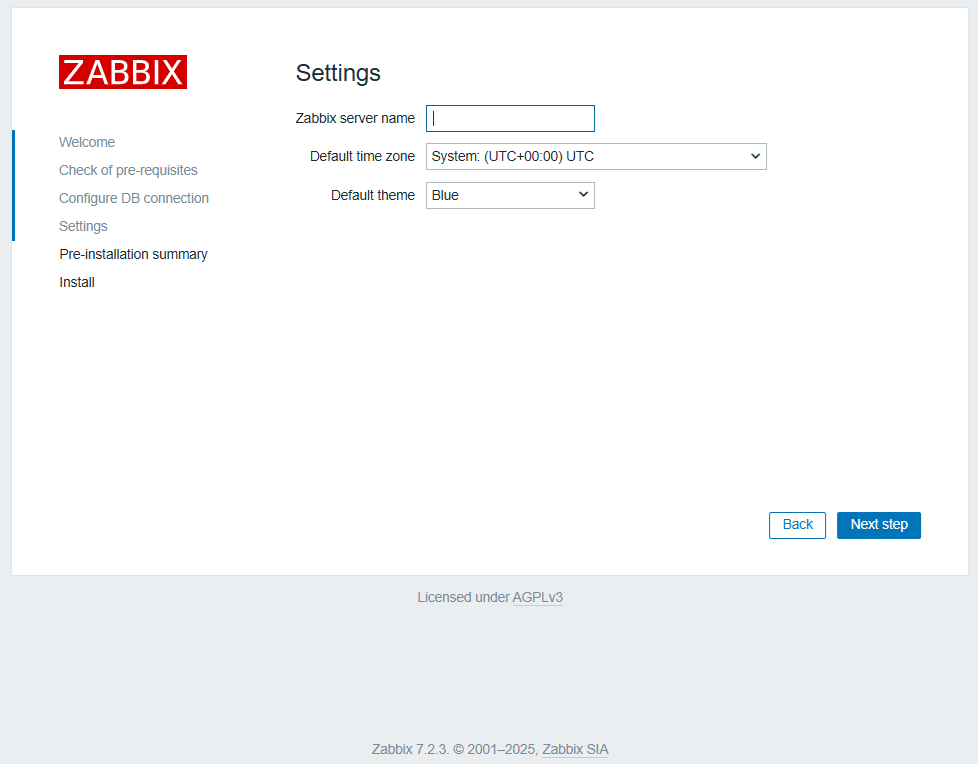
Set a hostname, time zone, and theme for Zabbix.
Click NEXT STEP.
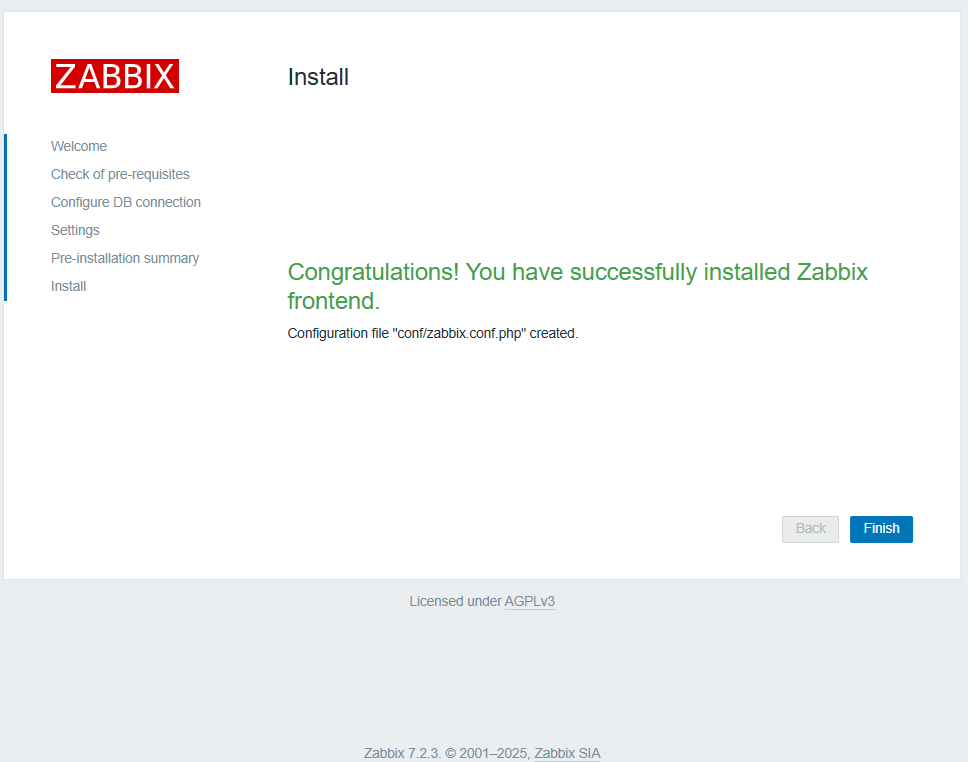
Review the summary and click NEXT STEP.

Click FINISH, and you’ll be redirected to the login page.
Logging In
Default username: Admin
Default password: zabbix
Enter the credentials and click SIGN IN.
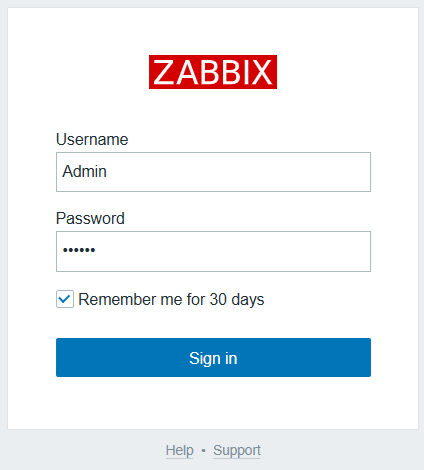
Congratulations! You’re now logged into Zabbix!

Summary
And just like that, you’ve got Zabbix up and running in an LXC container!
The number of steps might have seemed a bit overwhelming, but it wasn’t that hard, right?
Right now, Zabbix is only monitoring the container it’s installed on. In the next HOW-TO, I’ll show you how to set up monitoring for your Proxmox system.
I hope this guide helps those who weren’t sure how to install Zabbix and makes the process easier.
That’s it for today! Thanks for sticking around till the end, and see you soon in the next guide!
Cheers,
Lukas
comments powered by Disqus